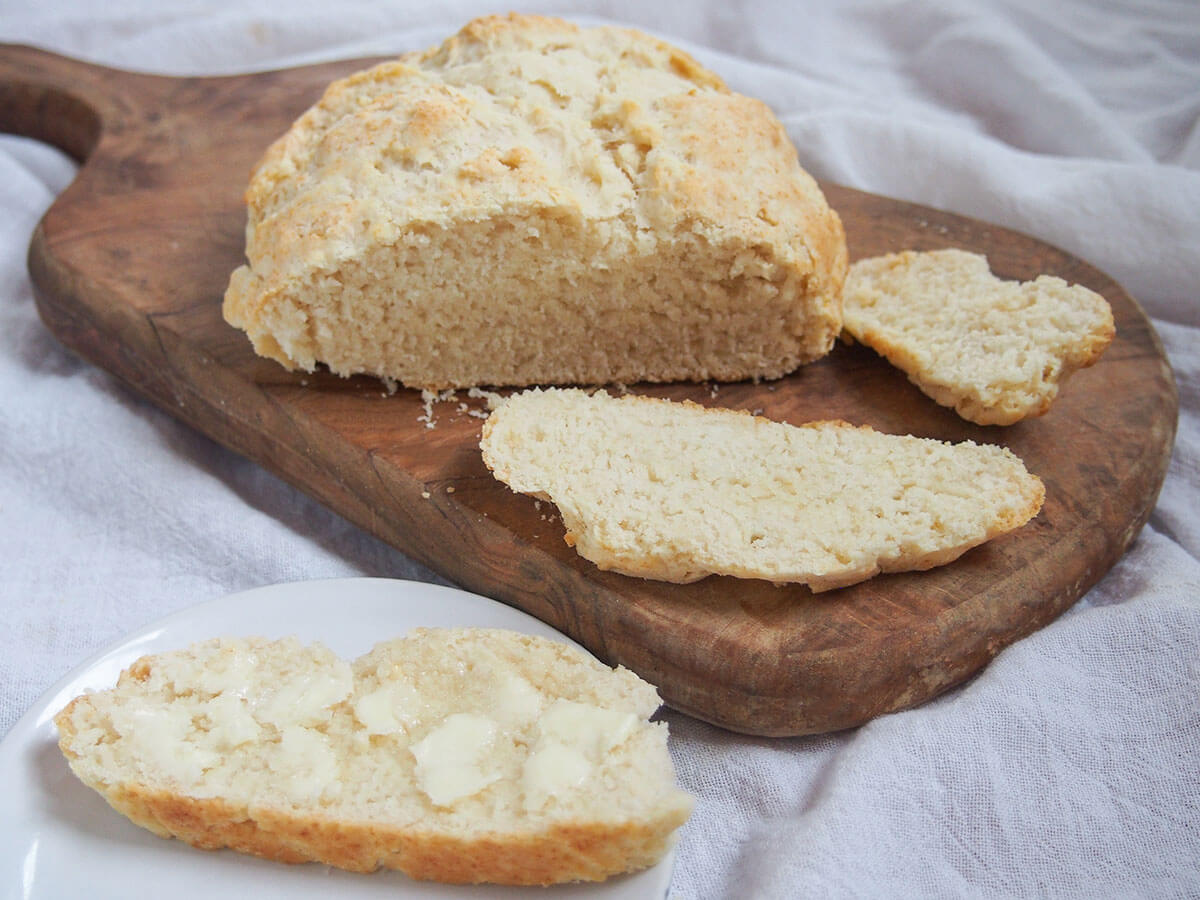
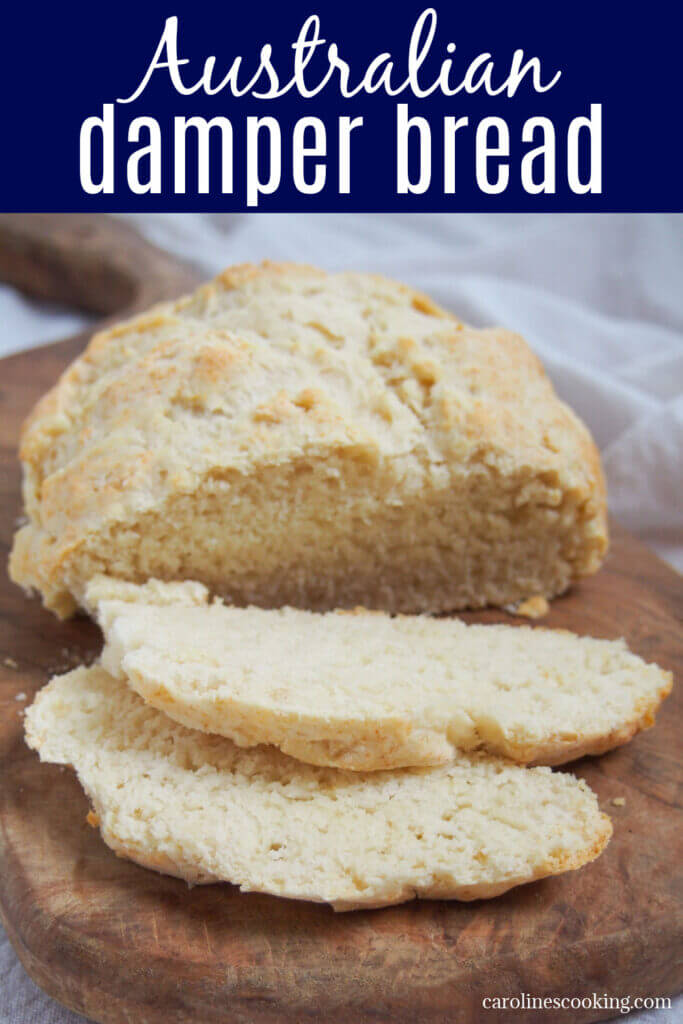
Damper is a traditional Australian bread that's really easy to make with just a few ingredients. While it's traditionally cooked in an open fire, you can also make it at home in the oven. It'll be one of the easiest breads you'll make, and tasty too.

This post may contain affiliate links, where we earn from qualifying purchases. See more details in the policy page.
Various recipes evolve to work for particular situations, and situations where storing food is tricky is certainly one of them. Just as Spanish sopa de ajo (garlic soup) was apparently created to use leftover bread with minimal additions that you could either get easily (like water) or store for a while (like paprika and garlic), this bread is similar.
While there are a few different stories about the exact origins, this bread became a favorite for people working in the outback. Cattle workers, for example, could be away for days with limited amounts they could carry or options to stop food spoiling. This worked as a great solution as they could carry dry ingredients and just add water.

Early versions of damper
This wheat-based bread has its origins in the early European settlers in Australia. There is another type of damper, sometimes called bush bread, made by indigenous Australians that has been made for thousands of years.
Bush bread was made with flours from various native seeds, such as from grasses, or nuts. It's still not clear whether the Aboriginal bread influenced the wheat damper. The idea of cooking a bread in the fire exists in other countries, so it is hard to say.
The cooking process was originally the same for both styles and it's what gives the name. This is what is believed to have given the name "damper". When ashes are placed over the flames it dampens the flames, then the bread is cooked in the hot ashes.
Originally, you cooked the bread right in the fire, so you then needed to dust off the ash. Over time, it has become more common to use a camp oven that you then sit in the fire. You might also cook some by wrapping some of the dough around a stick.
These days, while you can of course still make it in the fire, it's also something you might make at home in your oven.

Damper ingredients
Early versions were made with simply flour and a little salt mixed with water. Over time, the people have generally changed the flour to self raising flour so that the bread is less dense, and added butter to improve the flavor. Some use part or all milk instead of water for flavor as well.
Here I have gone with flour, salt, butter and part milk, part water, with options on the flour to allow for the fact self raising may be tricky for some.
If you think this sounds similar to a soda bread, you would be right. The main difference between this and an Irish soda bread, for example, is here you use baking powder (either in the self raising flour or added separately, as above) rather than baking soda (bicarbonate of soda). Using baking powder is often be called a quick bread.

What if you can't find self raising flour?
Self raising flour is very common in Australia, just as it is in the UK. And I have to say I love it for being nice and quick when making pancakes, for example. If you are in the US (as I am now), self raising, or self rising flour as it is called here, is not quite so easy to come by. But, you can make your own.
Essentially, self raising flour is just plain flour (all purpose) and baking powder. But you'll find different suggestions on the ratio. Part of that is because American self rising is not quite the same as British/Australian self raising flour. The American style also has a little salt and slightly less baking powder.
However, from a few sources, including this test from Charlotte's Lively Kitchen, the best fit seems to be 1 teaspoon of baking powder for every 100g of flour, given we're looking to make an Australian bread.
Conveniently, that works out pretty well for the size of loaf I chose to make here - 1 ½ cups of flour is by my measure just over 200g, so it's easy to make your own small quantity of self raising.
In all cases, you might want to go a little slow towards the end when adding the liquid to get the right amount.

Tips for making damper
This is really very simple, but the one thing to remember is you don't want to mix the dough too much. Remember, it is much like a soda bread so it's a fast acting leavening. You don't need to work the gluten by kneading.
Instead, you just rub the butter into the flour, as you would with scones, then mix briefly.
Top tip: mix with a blunt knife
If you use a blunt knife as you add the liquid, it helps to minimize how much you work the dough. The knife mixes without pressing the dough, and so helps it just come together.
The dough should be soft but not sticky. Smooth off the shape by rolling in flour, then place on a baking sheet. Score the top and bake.

Variations and serving ideas
While a plain bread like this is the most typical, you can play around and add in other ingredients to make this a flavored bread. This can be adding beer as the liquid to help with the rising (as well as flavor), some herbs or cheese. Then you can also make a sweet version with a sweetener and maybe some spices or dried fruit.
In terms of serving, you can make this either sweet or savory as well. In terms of savory options, at a simple level you can just add butter, but other toppings might include some cheese or ham.
For sweet, a classic option is adding some golden syrup - sticky and sweet, yes, but very tasty! Jam is naturally another option, or honey. Really, just treat it as any other bread, but one that's pretty versatile.
You can slice it or you'll often find people cut it into chunks since it can be a bit crumbly. Chunks also make it great to snack on (or dunk into soup).

Damper is a classic quick and easy Australian soda bread that is just as easy (if not easier) to make at home than in the traditional campfire. You only need a few ingredients and a short amount of time, and the result is soft, tasty and perfect with a whole range of toppings.
Try these other tasty breads:
- Caramelized onion sourdough bread (true, much more of a time commitment, but so tasty!)
- Peshwari naan (a relatively quick flatbread with a tasty dried fruit and nut filling)
- Anadama bread (a gently sweet yeast bread made with cornmeal and molasses)
- Plus get more bread recipes and Australian recipes in the archives.
Australian damper bread
Ingredients
- 1 ½ cup self raising flour (see notes)
- ¼ teaspoon salt
- 2 tablespoon butter cold
- ½ cup milk
- 3 tablespoon water or may need 1 tablespoon more or less
Instructions
- Preheat the oven to 375F/190C. Line a baking sheet with parchment.
- Mix the flour and salt together in a bowl. Cut the butter into small cubes then rub the butter into the flour with your fingers to give a rough crumb texture.
- Add the milk and mix in with a blunt knife so the dough comes together. Gradually add the water so that you incorporate all of the flour into the dough. It should be soft but not particularly sticky.
- Lightly flour a clean work surface and scoop out the dough onto it. Flour your hands and gently bring the dough into a flattened ball and toss in the flour so it is lightly floured on the outside.
- Transfer the dough to the lined baking sheet, score the top (for this size, into quarters is good, but you can do more if you like). Bake for approximately 30 minutes until the outside is gently golden and the base sounds hollow when you tap it. Let cool a little before slicing or cutting chunks (you can also break down the score marks, if they are clear enough after baking).
Video
Notes
Nutrition
See some of my favorite cooking tools and ingredients in the Caroline's Cooking Amazon store.
Remember to pin for later!


Dana Sandonato
Loved the origin stories! This bread was so good. Was my first time making this particular style and we all loved it!
Caroline's Cooking
Glad to hear you enjoyed, and agree I always love hearing the background to dishes.
Riberta Falange
Could this be made with almond or coconut flour?
Caroline's Cooking
I haven't tried either, so hard to say for sure, but the principle of a quick bread with them seems doable, you just may need a few adjustments. Both will certainly give a different flavor, especially if used on their own, so you might want to blend with other gluten free flours (assuming that's the aim). They also absorb liquid differently - almond flour in particular tends to need less liquid, and coconut flour to an extent as well, so definitely add the liquid gradually and look for texture rather than just add a lot of liquid at once. Bake time, too, may need adjusting.