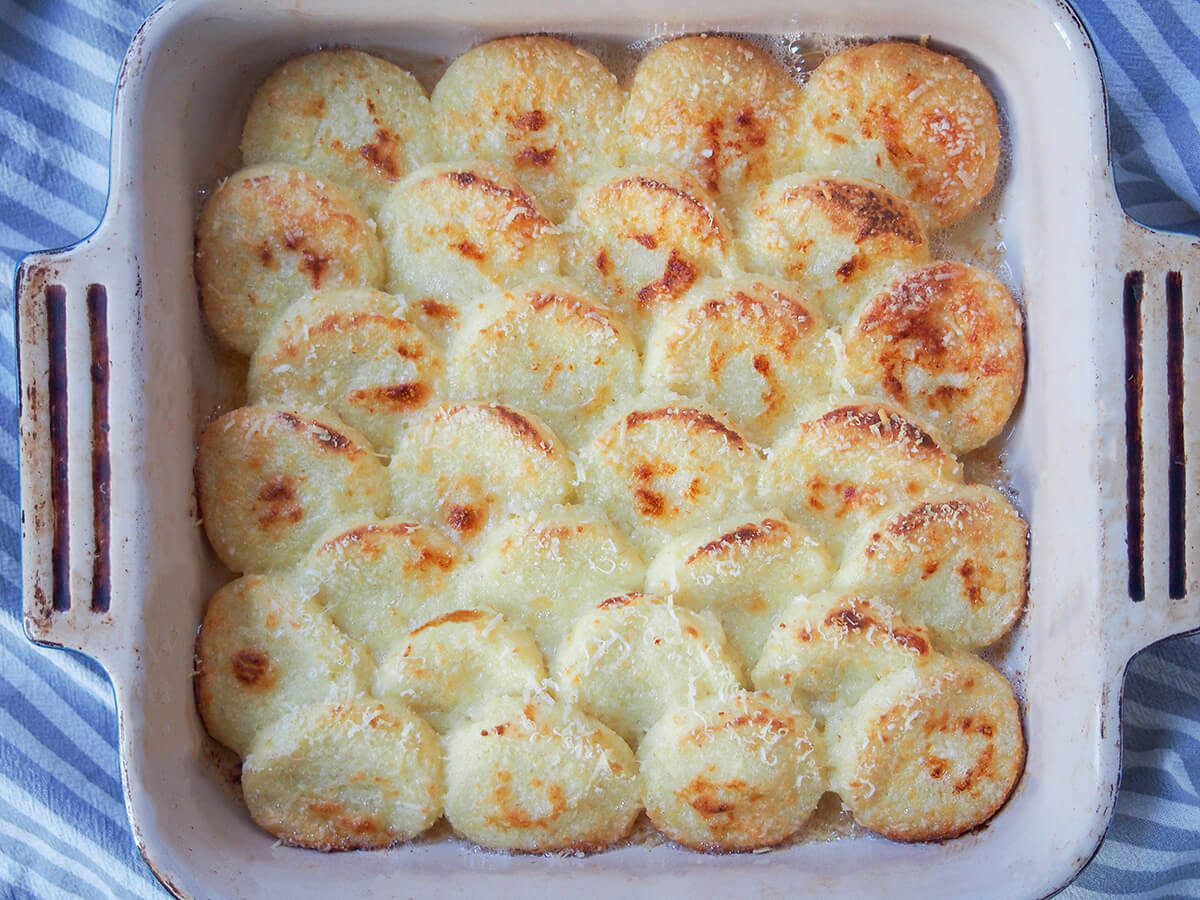
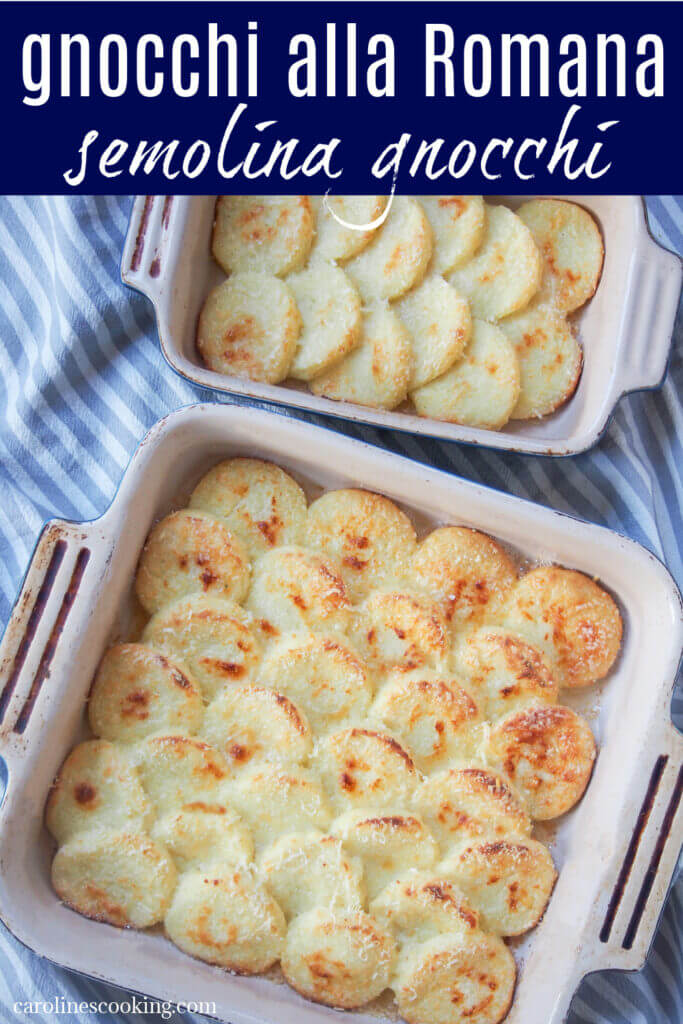
Gnocchi alla Romana are different from the gnocchi you may be more familiar with as these are made from semolina and cut in rounds. They have all the same comfort factor, though, if not more, with a lovely soft texture and crisp, cheesy top.

This post may contain affiliate links, where we earn from qualifying purchases. See more details in the policy page.
Gnocchi have long been a favorite meal in our house. In fact they were one of the first things my eldest became obsessed with and would out-eat us on at a young age. These days, other things have taken top spot in the favorites list. But classic potato, acorn squash gnocchi and beet gnocchi all appear on the menu fairly regularly.
Somehow, though, it took me forever to make these semolina gnocchi. Though in fairness, they are far less well known. Which is definitely a shame as they are pure comfort food deliciousness.

What are the origins of gnocchi alla Romana?
"Alla Romana" means "in the Roman style" as these gnocchi come from Rome. In fact it's not just the city of Rome but these are the evolution of the gnocchi made during the Roman Empire. This means they pre-date the arrival of potatoes into Europe and so are older than what we now consider 'regular' gnocchi.
This traditional Italian dish is not your typical Roman dish since it uses a decent amount of butter. However, it does fit with the relatively simple dishes you'll find in the area that are classic 'cucina povera'. You only need a few ingredients and the result is filling and so tasty.

What is gnocchi alla Romana made of?
As mentioned, these are also known as semolina gnocchi as they are made with semolina. Semolina is made from durum wheat which is a slightly yellow, hard form of wheat. It's common in the Mediterranean region and you'll find it particularly used in Italian and North African cooking.
Semolina flour is popular for making pasta as well as some breads in Italy. It has a lovely slightly nutty flavor and while it comes in finer and coarser grinds, it tends to have a slightly coarser feel either way.
Along with semolina flour, you make these with milk, eggs, butter and cheese. You season them with a little salt and sometimes a small amount of nutmeg, though not always.

Making semolina gnocchi
You need a little time to make these but it's an easy process. You first form a thick paste with butter-enriched milk and semolina flour, add some parmesan cheese for flavor then after thickening it up, let it cool to firm up.
Traditionally, you pour the mixture out into a relatively thin layer. This is both the thickness of the end slices, but also means there is plenty surface area to help it cool, dry slightly and firm up more quickly.
You then cut circles from the layer for the next step. An alternative method is to form a log with the mixture and cut slices from it. This means less waste, but you tend to need it a little firmer before cooling as there's less surface area as it cools.

Once you cut thin slices, using either method, you place the circles in a baking dish. Lightly butter the dish before you add the pieces to help avoid them sticking. Arrange them so they are slightly overlapping in a single layer.
Then cover them generously with more cheese and some butter and bake or grill them until the top is gently golden brown and crisp. I find they are often best baked to ensure they warm through more evenly, but both ways work.

How to serve these
These semolina gnocchi are relatively rich with all that butter and cheese, but they do taste surprisingly light. Clearly not as light as a bunch of greens, but maybe similar to mac 'n' cheese, which it does have some similarities to.
In Italy, these are typically a "primo" or first course. That's the course that falls between an appetizer (which may be a salad, for example) and the second course, which is typically meat or fish. Pasta is a common primo, so these would be an alternative.
If you're more inclined to make a larger plate, then these can also work as the main component, maybe with some light sides like salad or green vegetables, for example. You could also serve them as a side to meats and stews. Some slow braised meat would pair pretty well, for example.

Can you freeze gnocchi alla Romana?
These freeze surprisingly well so you might find yourself making extra to do so. Just make them as far as placing them in the baking dish, topped with cheese, then cover and freeze. Try to have it well sealed, for example with foil over the top then in a freezer bag or with a lid on top. When ready to use, just uncover and bake in the oven from frozen. It will need a few more minutes to cook and brown, but only 5 or so more.
You can also re-heat cooked semolina gnocchi - just warm in a medium-low oven for a few minutes until heated through. They will be slightly more dense when re-heated compared to fresh, but otherwise the texture is still pretty good (and they're still very tasty!)

Gnocchi alla Romana may be a lesser known traditional Italian dish, but it's definitely one that's worth getting to know. It may take a couple steps, but they are easy to make with only a handful of ingredients. The result is pure comfort food, with a lovely mix of soft semolina gnocchi and cheesy goodness. So tasty, it will become a new favorite.
Try these other comforting dishes:
- Creamy chard pesto baked orzo
- Harira (Moroccan lentil and chickpea soup/stew)
- Ricotta and spinach gnudi
- Short rib beef udon
- Plus get more Italian recipes and mains recipes in the archives.
Gnocchi alla Romana (semolina gnocchi)
Ingredients
- 2 ¾ cups milk
- 2 tablespoon butter divided
- 1 pinch salt
- 1 pinch nutmeg
- 1 cup semolina (see notes)
- 2 egg yolks
- ½ cup parmesan use real parmigiano reggiano
To top
- 2 tablespoon butter in small pieces
- ⅓ cup parmesan use real parmigiano reggiano, or a little more as needed
Instructions
- Place the milk and half of the butter for the gnocchi (1tbsp/14g) in a pan and warm over a medium heat, warming now and then to help the butter melt and mix.
- Add a pinch of salt and nutmeg as the mixture warms. Once the butter has melted and the milk is warm, but not yet simmering, gradually add in the semolina, whisking or stirring constantly as you add to make sure it blends in rather than forming lumps.
- Keep warming and stirring the mixture over a medium heat to thicken the mixture. Keep a close eye as it can thicken quickly towards the end. You may need to swap from whisk to spatula or wooden spoon as it becomes more stiff.
- Once it is relatively thick and stiff, remove from the heat. Off the heat, add the other chunk of butter and mix it in to melt (this also helps reduce the heat a little before you add the egg). Add the egg yolks, one at a time, and mix in quickly to ensure they become well combined and distributed and don't cook. Add the cheese and mix in well.
- Line a baking sheet/tray with a silicone mat or parchment and then pour/scrape the mixture onto the baking sheet. Spread the mixture out into a layer around ⅓in/1cm thick. Smooth the top and try to releaser any air pockets that may have formed - a slightly damp spatula (or damp hands) can help with smoothing.
- Leave the mixture to cool completely at least an hour, possibly two - you can speed up a little in the fridge but it will still take near an hour as you want the mixture to be cold to touch and firmer. You can also cover and leave in the fridge overnight at this point.
- Once cool, lightly butter a baking dish or dishes (I used both an 8x8in, 20x20cm and a 5x7in, 12x18cm dishes). Have a round cutter ready, approx 2in/5cm in diameter and a small bowl with water to dip your cutter in as you go.
- Preheat the oven to 400F/200C.
- Cut circles of the dough and place them in rows, overlapping each layer in a scalloped pattern, in the baking dish/dishes. Once you have used all the dough, discard any extra small pieces (you can, to a point, reform the leftovers and cut more but they tend to be more messy so not always worth it - do as you prefer).
- Dot the butter to top over all of the circles and then sprinkle the cheese over the top as well. Bake for approximately 15 - 20 minutes until the top is gently golden. If you like, you can place under the broiler/overhead grill for the last couple minutes to help them brown, but it's not generally needed. You can crisp them only slightly or more, as you prefer, then when ready, serve warm.
Video
Notes
Nutrition
Remember to pin for later!


Gianne
The semolina gnocchi are so tender and creamy, with a hint of parmesan that adds the perfect amount of flavor. It's like a little taste of heaven!
Caroline's Cooking
I'm so glad you enjoyed! I agree, such a wonderful soft, comforting and cheesy flavor.
Lauren
Addictingly delicious! I love traditional gnocchi but hadn't made semolina before. These are definitely a new favorite now!
Caroline's Cooking
It is definitely less well known, but glad to hear you enjoyed!